This post is a DIY: Adding Trim to Drapes or Curtains.

This is a popular subject for DIY enthusiasts. Because let’s face it, custom drapery, althought beautiful and elegant, can also be a budget buster for home decorating. There are ways to customize a quality store bought curtain or drape and achieve the elgant window treatment you desire and still have money left in the budget.

You’ll find more posts on customizing window treatments here: Custom Drapery Hack-Get the Look for Less and 5 Steps to Customize Drapes.
DIY: Adding Trim to Drapes and Curtains ~ A quick review:
Here is the 5 Steps to Custom Drapery that I follow:
- Purchasing Two Panels per side for a Fuller Look
- Add fringe – either touch the floor or just above
- Consider Lively Details Pom Poms, Buttons, Tassels – sew or hot glue in place
- Attach Decorative Trim – sew or hot glue in place
- Use Drapery Clips for Hanging
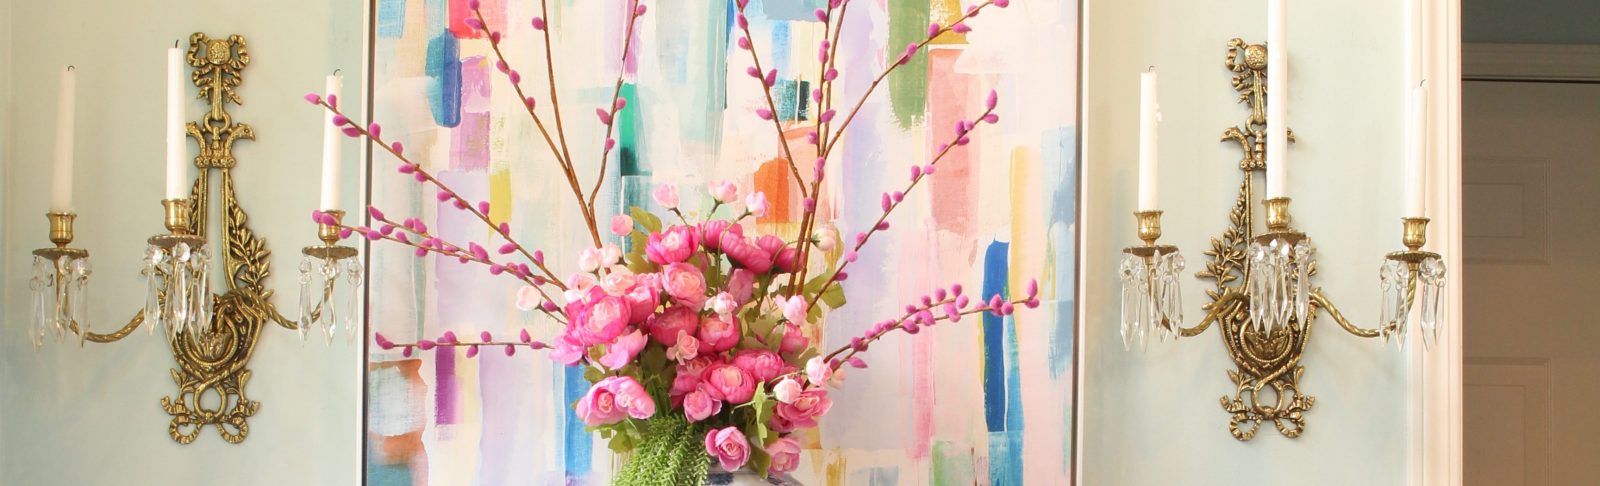
Living Room and Family Room Drapes
Todays window treatment DIYs are in the Living Room and Family Room. As a matter of fact this is the third time I’ve featured the pair in the Living Room, re-imagining them with new trims at every move. If you have that same itch to switch that I have, you will definitely want to use the hot glue gun instead of a sewing machine to add your trims.

You can undo some of your glue gun handy work without harming the drapes. However, if you invest in the luxurious version of drapes, I wouldn’t suggest ever going near them with a glue gun!

Here’s a great tip for those who live to keep things fresh. If you use a color scheme throughtout your main floors, it is easy to get a fresh look by moving around decor, pillows, small furniture, and on the odd chance that your windows are the same height, even drapery. It’s an inexpensive way to get a whole new look. Below you can see the white drapes in this same space.

Family Room Drapes
When I started this project, I had no intentions flip flopping the drapes in each of the rooms. But, as I was working with them in the family room, I loved how the deep, rich peacock color brought peep and life into the room.

Because at my direction 20 years ago, Tom the Great hung my drapery rods as high as possible, and we (he) has no plans to move them, the drapes were just an inch or two shorter than I wanted. I knew this when I was ordering them, and could have ordered a custom length had I been willing to give up grocery shopping for a couple of months. There is always that option. However, I knew I would eventually want to zhoosh them up a bit with trim, anyway. It’s what I do, and it solves the length issue perfectly.

The trim for the hem of these drapes was acheived with three seperate pieces. The 6 inch gold bullion, the fuschia pink cording, and the cobalt blue pom pom trim. The three created the look that I wanted.

The Living Room Drapes
The only addition I made to these drapes (other than what I wrote about in the past posts), was to add one more piece of trim. I centered the pink greek key trim over the black trim, allowing both edges of the black greek key to peek through.
I’m a fan of how the pink works to tie the pillows and rug of the room together. (Remember the rule of threes also applies to spreading a color around the room.)


Chinoiserie Master Bedroom Drapes
Beautiful silk taffeta drapery were customized with trims for the master bedroom one room challenge. You can read all about the window treatment update HERE.

Enjoy Today!
Love y’all,
Lori Nell

Shop My Window Treatment Looks

Please check out my new YouTube Channel. Let me know if there is a decorating dilemma you need help tackling!
Follow along on My Instagram, My Pinterest, and My Facebook for daily inspiration.


sherrygcole
Southern Nell Gracious Living
Kim Purvis
Deana Landers
French Ethereal
Southern Nell Gracious Living
Pingback: DIY - Designer Lamp Makeover - Southern Nell
Pingback: Budget-Friendly Office Refresh with Spray Paint and Vintage Furniture Finds - Southern Nell's
Pingback: 6 Simple Vintage Jewelry Craft Ideas - Southern Nell's