This post will explain How to Refinish an Old Wood Front Door. Vintage Front Doors with Window Panes add Character to Any Front Porch Entry Space.
Who loves to welcome guests into their home?
I know I do.
But, let’s be honest for a moment. This maybe difficult, but I’m here for you.
What do your guests see after they’ve rang your front doorbell, or tap, tap, tapped your adorable door knocker?
Run, out side now, and do just that! Go ahead. Take a look around for the few minutes it would take you to answer that door bell.
Could your front entry use a some attention? If yes, I have a wonderful affordable DIY for you.
In this post you will see how I increased the curb appeal, and welcome factor by 10 fold with a $50 Facebook Marketplace find.

If your door is in great shape, here are our most popular posts on improving your front entry.
Front Porch Ideas for Fall || Fall Outdoor Idea || Colorful Front Doors of King Lane
5 Step Guide to Refinish a Wood Door
Vintage wood doors are my favorite! So when I found this one with the glass panel, I decided to research this topic. .
Supply List:
- vintage wood door with character
- citrus strip mask and scraping tools
- hand sander (Could be done with sand paper and block depending on the details of the door)
- paint and/or stain
- door hardware – hinges and handles

Original Metal Front Door
Before we get into the hard work, here’s a trip down memory “king” lane. The first door for our home was a metal front door. Boy oh boy have I taken full advantage of my love for color, and slightly fickle relationship with it. We won’t review the entire line up of six colors in twenty years, but here’s a look at my favorite. 1.Wythe Blue.

Coming in a close second is Old Country, a beautiful coral color. Read all about it HERE.

Never ever Miss a Post – Tap the box below to get an email when I post:
Refinish a Vintage Front Door with these simple steps:
1. Find a vintage door
I chose to restore a vintage door to create a charming curb appeal. I found a solid wood 1930s door with paneled detail and a stain glass insert. Lots of life occurred at this door, and it showed. For me the knocks and bruises add character.
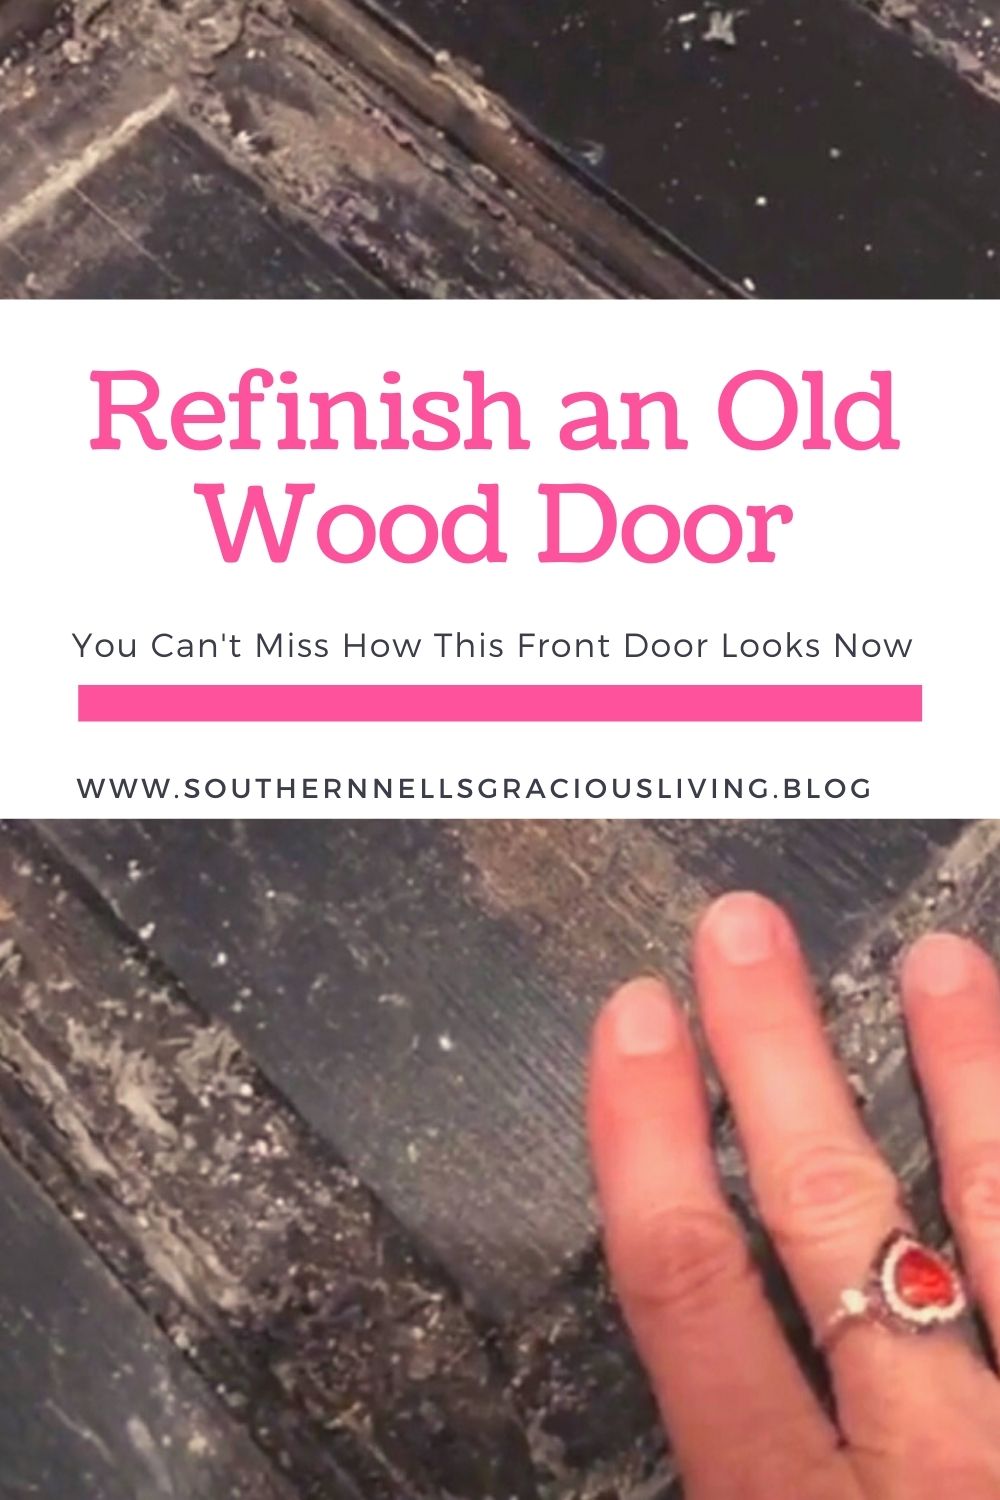
Be sure that you find a door that isn’t warped, and matches the exact dimensions of your current door. I had to remove two coats of paint to reveal the beautiful wood. I’m pleased with the outcome. Here’s how the door looked when I found it.

2. Strip off old paint
If you’re not afraid of a little hard work and some sweat equity, consider yourself equipped for this makeover, at least the restoring and beautifying of the door.
I removed the moss green paint only to discover another layer of black paint that needed to be stripped. I followed the directions on the stripping agent I chose, Citrus Strip.

3. Sand to a smooth finish
A hand sander will make this job a lot easier, although you can sand by hand if you have the patience. After hours of tedious sanding, I was unable to remove all the black paint from the recessed panels.
This was when I decided to highlight the panels with the moss green paint color that closely matches the paint of the body of our home. A delightful concession, I think.

4. Paint and/or Stain
With exposure to weather, the wooden front door will need a layer of protection. I chose a Behr product, Waterproofing Stain & Sealer.
5. Hinges and Handles
My built in carpenter, Tom the Great, did not want to tackle moving the hinges and strike plates, so we hired a carpenter for the installation process.
We reused our existing hardware, except for purchasing new the hinges.


I finished the door and had it ready just in time to add fall decor. Beautiful mums, a welcome sign, and a fall wreath really warmed up the front porch for fall.

The inside of this door is truly my favorite. You can see it in this post: The Front Parlor
Thank you so much for stopping by! If you never want to miss a post, just feel out the prescription box below, and you’ll get an email letting you know I posted!
Enjoy Today!
Love y’all,
Lori Nell
Sharing is Caring ~ I’d appreciate greatly if you pinned the image below to your Pinterest Board. It’s a blogger’s currency!!

You Might Enjoy Some of My Most Popular DIYs:
How to Get High Gloss Lacquer Finish on Wood Furniture || 5 Steps to Customize Curtains with Trim || How to Fold Napkins for the Christmas Table

Crissy
Southern Nell Gracious Living
Kelsey Mitchell
Southern Nell Gracious Living
Pingback: Spring Decor Ideas for the Southern Chinoiserie Home
Pingback: The Ultimate Guide to Affordable Fall Home Decor - Southern Nell's
Pingback: Outdoor Fall Decor Ideas - Southern Nell's
Pingback: Ideas for Front Porch Decorating this Fall - Southern Nell's